Autopsy on Windows
Much easier, spin up a windows VM, and install autopsy. Works out of the box.
Usage
Before diving into Autopsy and analysing data, some steps are to be taken; such as identifying the data source and what Autopsy actions to do with the data source.
Basic workflow:
Create/open a case for the data source to investigate
Select the data source to analyse
Configure the ingest modules to extract specific artefacts from the data source
Review the artefacts extracted by the ingest modules
Create the report
New Case
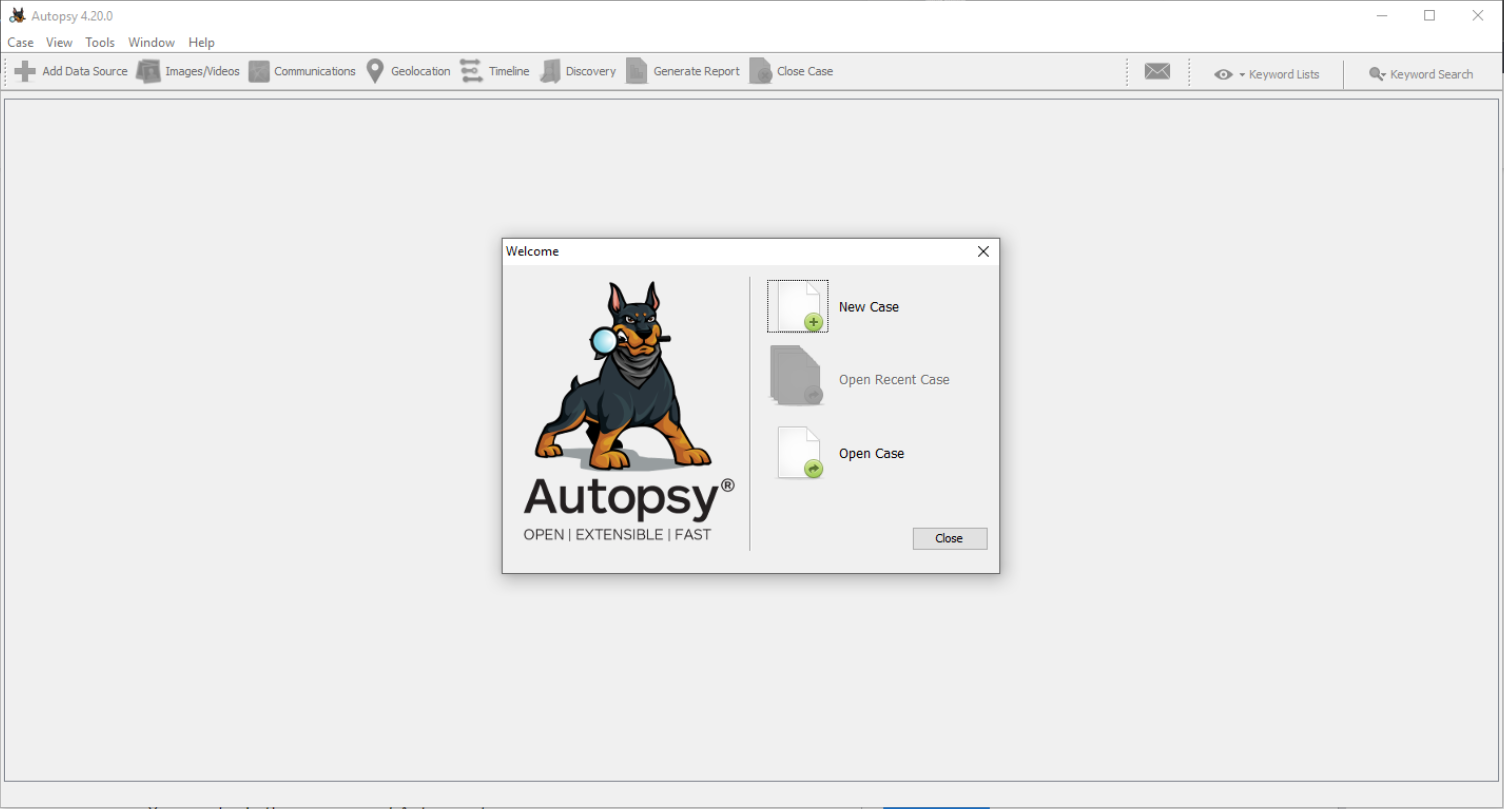
To prepare a new case investigation, you need to create a case file from the data source. When you start Autopsy, there will be three options. You can create a new case file using the “New Case” option. Once you click on the “New Case” option, the Case Information menu opens, where information about the case is populated.
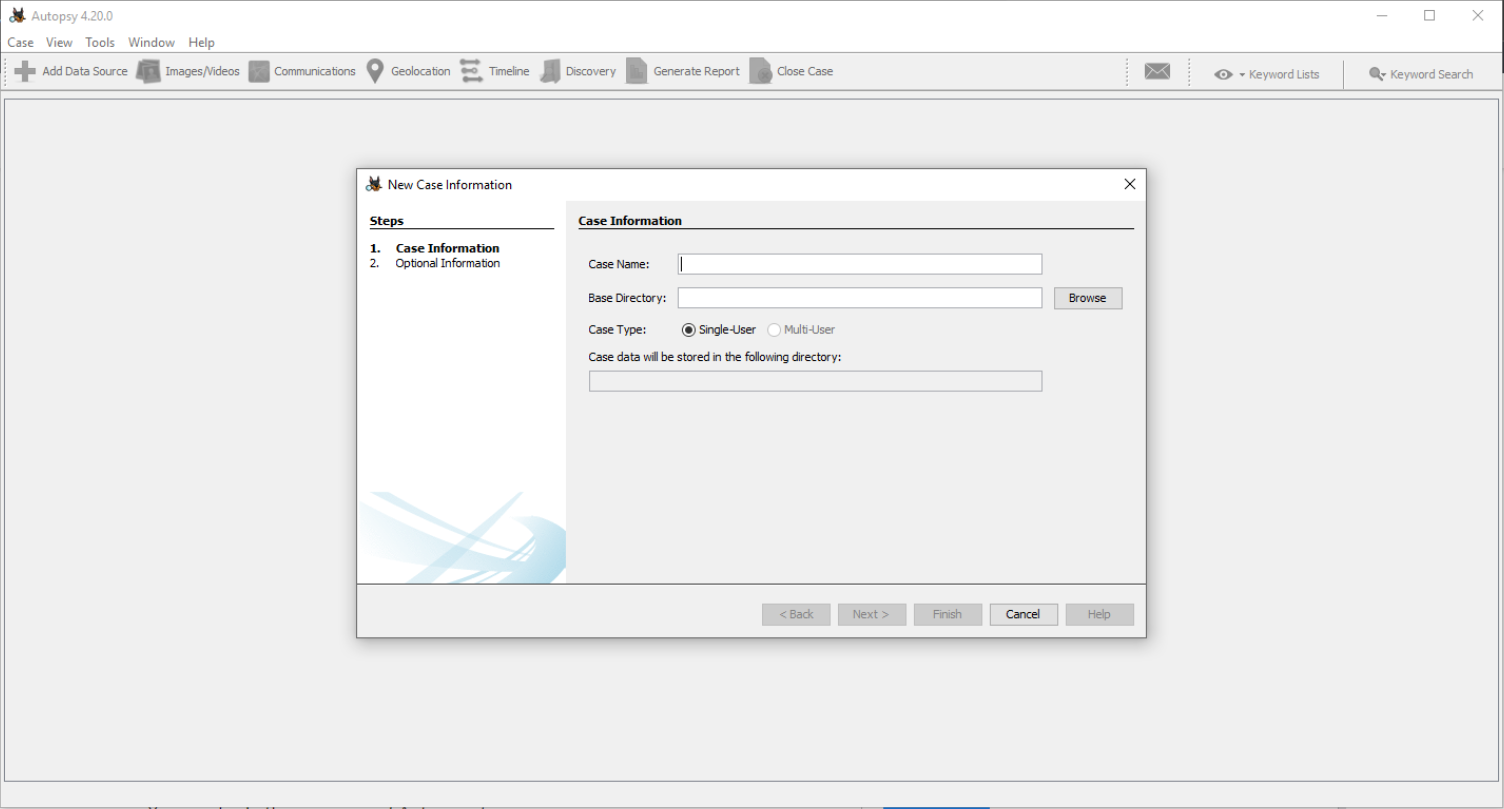
Case Name: The name you wish to give to the case
Base Directory: The root directory that will store all the files specific to the case (the full path will be displayed)
Case Type: Specify whether this case will be local (Single-user) or hosted on a server where multiple analysts can review (Multi-user)
DFIRScience offers two YouTube mini courses to quickly get started, respecting common DFIR practices: