Binary analysis VM
The Binary Analysis book comes with a virtual machine that contains all the examples and software, making it possible to enjoy the challenge safely.
You can download it from this torrent (or get link to it from the book site, I had to make a tinyurl to make a magnet link possible in markdown). The username and password for the VM are both “binary”.
Why not VirtualBox?. I have other KVM VM’s as well, and running both KVM and VirtualBox in parallel leads to failures.
Installation on KVM
Download the
.ova.Copy, in case something goes wrong, and unpack:
nina@tardis:~/Downloads$ cp binary.ova binary-analysis.ova
nina@tardis:~/Downloads$ ls
binary-analysis.ova  binary.ova
nina@tardis:~/Downloads$ tar -xvf binary-analysis.ova
binary.ovf
binary-disk001.vmdk
Convert the
.vmdkto.qcow2(and rename):
nina@tardis:~/Downloads$ qemu-img convert -p -f vmdk -O qcow2 binary-disk001.vmdk binary-analysis.qcow2
    (100.00/100%)
Move the
binary-analysis.qcow2to/var/lib/libvirt/images(as root) and change ownership tolibvirt-qemu. Change group tokvm.Open the
binary.ovfto look at the parameters (disk size 50 Gb is okay, 4096 RAM and 1 CPU, which you can change later to 2 CPU’s if you wish).Import in KVM, based on Ubuntu 16.04 (Include legacy to find it).
Set display resolution, and use
Left Ctrl + Left Altrelease focus (free mouse to host).
Getting started
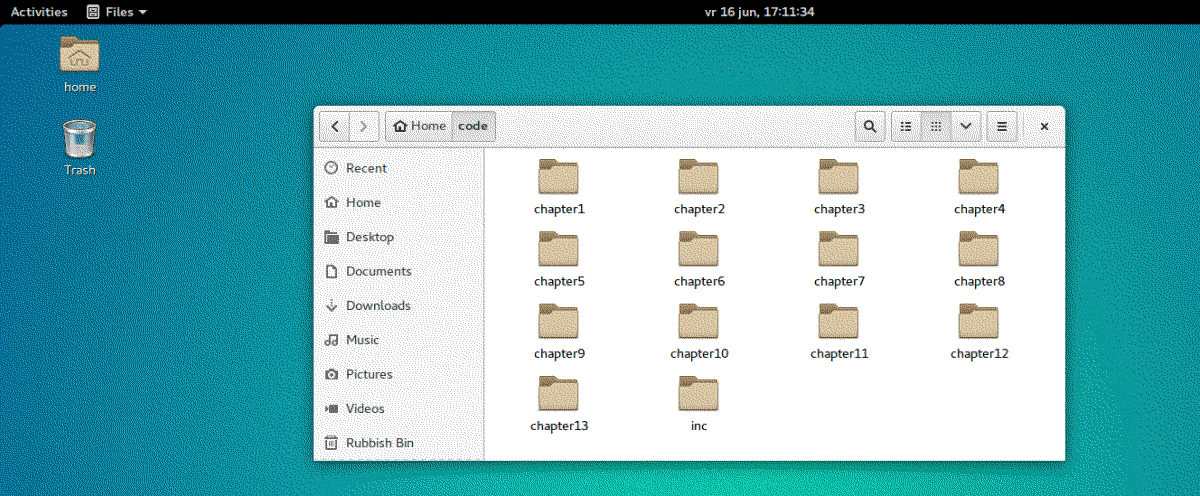
In the directory ~/code, you will find one subdirectory per chapter, which contains all code samples and other relevant files for that chapter. There is also a directory called ~/code/inc that contains common code used by programs in multiple chapters.
Updates
Updating the OS or any software packages, for instance with apt, is not recommended because some of the pre-installed binary analysis toolkits have very specific expectations about the system.
If you wish, update before the conversion to qcow2. I did not, and sofar it all works fine.